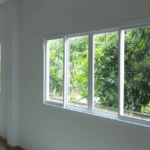
Windows are a crucial part of any home, and they should be installed properly in order to keep your home comfortable and energy efficient. Here are 8 essential steps for a proper window installation.
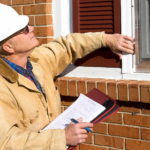
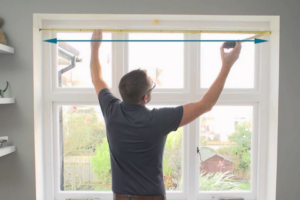
1. Measure the window opening and make sure to order the correct size window
Your first order of business is to make sure you measure the window opening correctly.
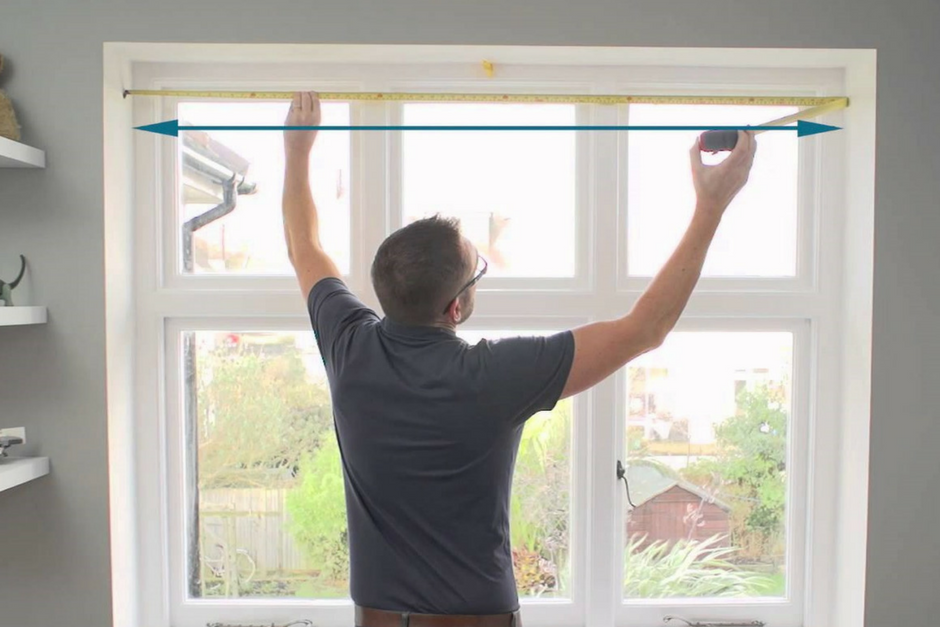
You’ll need to know the width, height, and depth of the space so you can select the correct size when ordering your window.
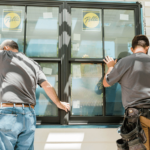
2. Remove the old window and prepare the opening for installation
Once you have the new window, it’s time to remove the old one. This process can vary depending on the type of window and the condition of the opening, but in general, you’ll need to remove any trim or molding around the old window and then take out the sashes (the moving parts of the window) before removing the frame.
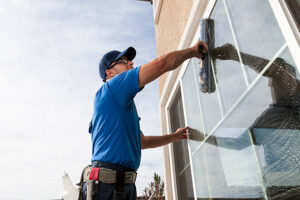
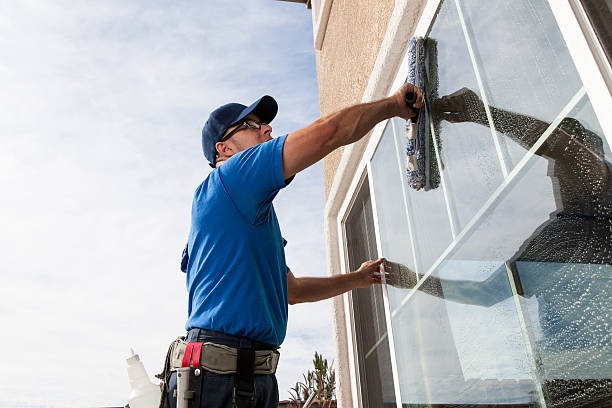
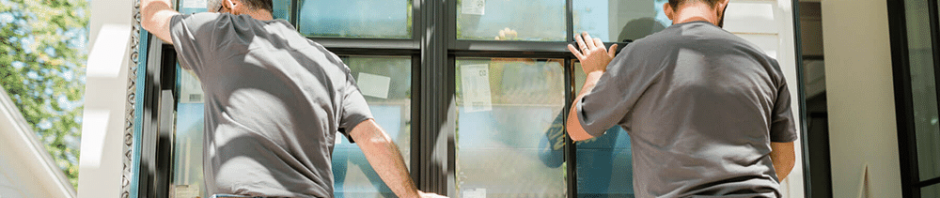
3. Install the new window in the opening
The actual installation process will vary depending on the type of window you’re installing, but in general, you’ll need to set the new frame in the opening and then fasten it in place with screws or nails.
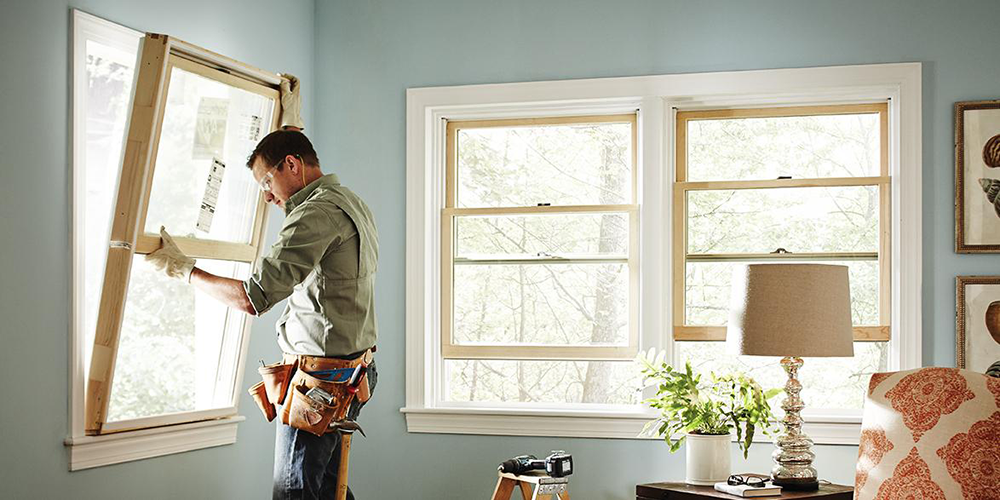
Once the frame is secure, you can install the sashes and then add any trim or molding around the edges.
4. Caulk around the window frame to create a weather-tight seal
Once the window is installed, it’s important to create a weather-tight seal around the frame. This can be done with caulk or weather-stripping. Don’t skip this step as it will help keep your home energy-efficient.
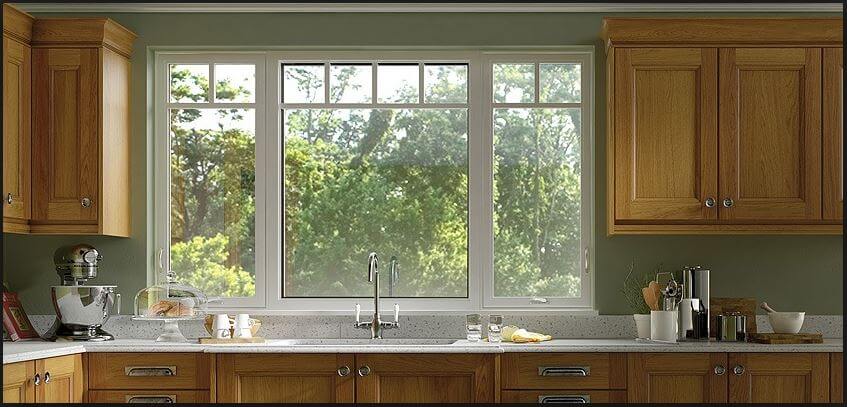
5. Install trim around the window to finish off the installation
After the window is installed and sealed, you can add any trim or molding around the edges. This step is purely aesthetic, but it can help give your window a finished look. Don’t hesitate to get creative with this step and choose a style that complements the rest of your home’s décor.
6. Check for any leaks or drafts around the windows and fix them accordingly
Once you’ve completed the installation, it’s important to check for any leaks or drafts around the windows. If you find any, make sure to seal them up with caulk or weather-stripping. You might have missed a spot during the installation, or there could be a problem with the window itself. Either way, it’s important to fix any leaks so your home stays energy-efficient.
7. Add insulation around the window if necessary
If you live in a colder climate, you might want to add some insulation around the window. This will help keep your home warm in the winter and can lead to lower energy bills. You can buy insulation kits at most hardware stores.
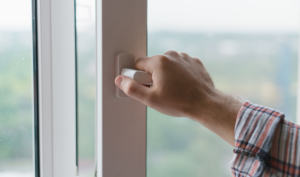
8. Check the window for proper operation and make sure it is locked securely
After the window is installed, it’s important to check that it opens and closes properly. You should also make sure that it is locked securely.
This marks the final step of the installation process and ensures that your window will be safe and functional for years to come.